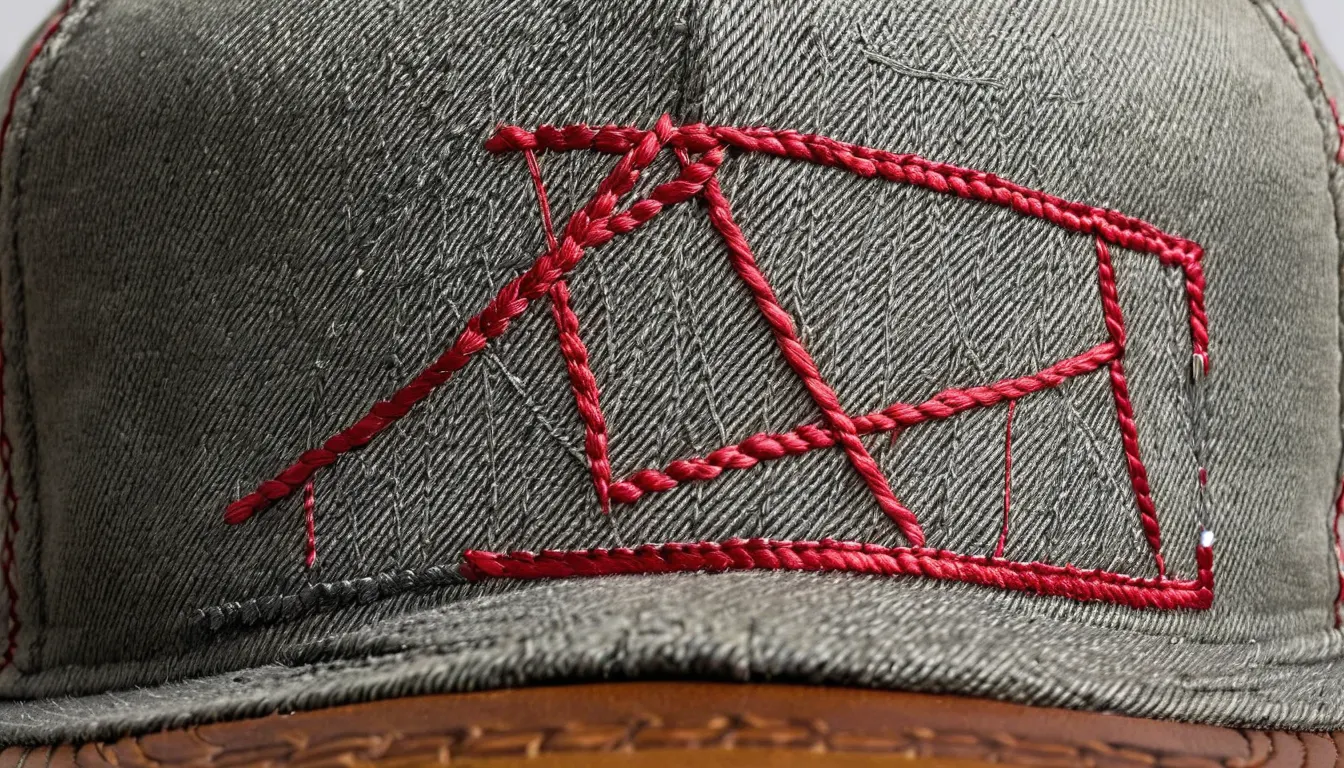
Why caps need their own embroidery file
Most commercial machines sew caps on a cylindrical cap frame or driver, with the cap curved around it. The fabric moves differently than it does in a flat hoop, and on structured caps a stiff buckram backing and a center seam add resistance. Stitch a design left to right like a flat file and the fabric can push ahead of the needle, leaving gaps, misaligned outlines and puckers. Cap digitizing handles this with sequencing and settings chosen for the curve.
How cap embroidery files are sequenced
- Stitching starts at the middle of the design and works out to each side, so fabric is pushed away from finished areas rather than bunching against them.
- Elements generally sew from the brim upward, toward the crown.
- Objects of one color are grouped where the design allows, which cuts trims, jumps and registration problems.
- Underlay is chosen to hold the fabric against the backing before the top stitching starts.
The sewing field height on a cap front is limited by the frame, the cap style and the machine. Tell the digitizer the cap style and your machine so the design fits the area you can actually sew.
Structured vs unstructured caps and center seams
| Cap type | What changes in the file |
|---|---|
| Structured six-panel with center seam | Avoid thin details and small text right on the seam; build enough underlay to bridge it |
| Structured five-panel or seamless front | Smoother surface; fine detail is easier to place in the middle |
| Unstructured or dad cap | Soft front can shift and pucker; lighter density and stabilizer choice matter |
| Trucker cap with mesh sides | Keep the design on the solid front panel |
How 3D puff embroidery files are built
3D puff sews satin stitches over a layer of embroidery foam laid on the cap, so the design stands up from the surface. The file is built for the foam:
- Shapes are made of satin columns, because fill stitches don't wrap foam well
- Density is higher than normal so the foam doesn't show through
- Column ends are closed with capping stitches that seal the foam in
- Stitches perforate the foam along the edges so the excess tears away cleanly
- Column widths stay within a range that suits puff, since very thin parts lose the raised effect and very wide parts can collapse
Not every design suits puff. Bold block letters and simple shapes work best. Fine detail and small text usually sew flat beside the puff elements.
What to send for a cap or puff file
- Artwork, vector if possible
- Finished width and height
- Cap style: structured or not, panel count, seam
- Flat, 3D puff, or a mix
- Machine format and cap frame type
- Thread colors and foam color
- Photo of the actual cap, if you have one
- Confirmation that you have rights to the artwork
Not sure which format your cap machine reads? See DST, PES, EXP and other embroidery formats.
Cap and puff digitizing questions
Can a flat file be converted for caps?
Sometimes the objects in a working file can be resequenced and adjusted, which is quicker than starting over. Converting from a stitch file like DST alone is harder and often means redigitizing.
Do I need a sample sew-out?
For caps, test on the actual cap style before a full run, especially with puff and anything near the center seam.
Can small text be done in 3D puff?
Usually not well. Puff works best on bold block letters and simple shapes. Small text and fine detail are normally sewn flat next to the puff elements.
Caps on the schedule? Send the logo, cap style and machine format.
Send artwork for a quote